Introduction
I recently resumed taking violin lessons. I'm just a beginner, and I'm renting my violin from a reputable luthier. Yet, I've been wondering for some time how a better would instrument sound like... and why some instruments sound better than others.
This led me down a luthery rabbit-hole, and I soon found myself surprisingly interested in violin making. Of course I live in a small flat and don't have the tools nor the skills to build a violin from scratch, but I quickly discovered there are violin kits designed for people like me.
After much hesitation, I decided to embark on this journey, and bought a kit from a reputable saler, StewMac. My understanding is that StewMac specializes in guitar parts and guitar making, but the kit had good reviews.
Unboxing
The kit arrived a few days after, and gave me a good first impression.
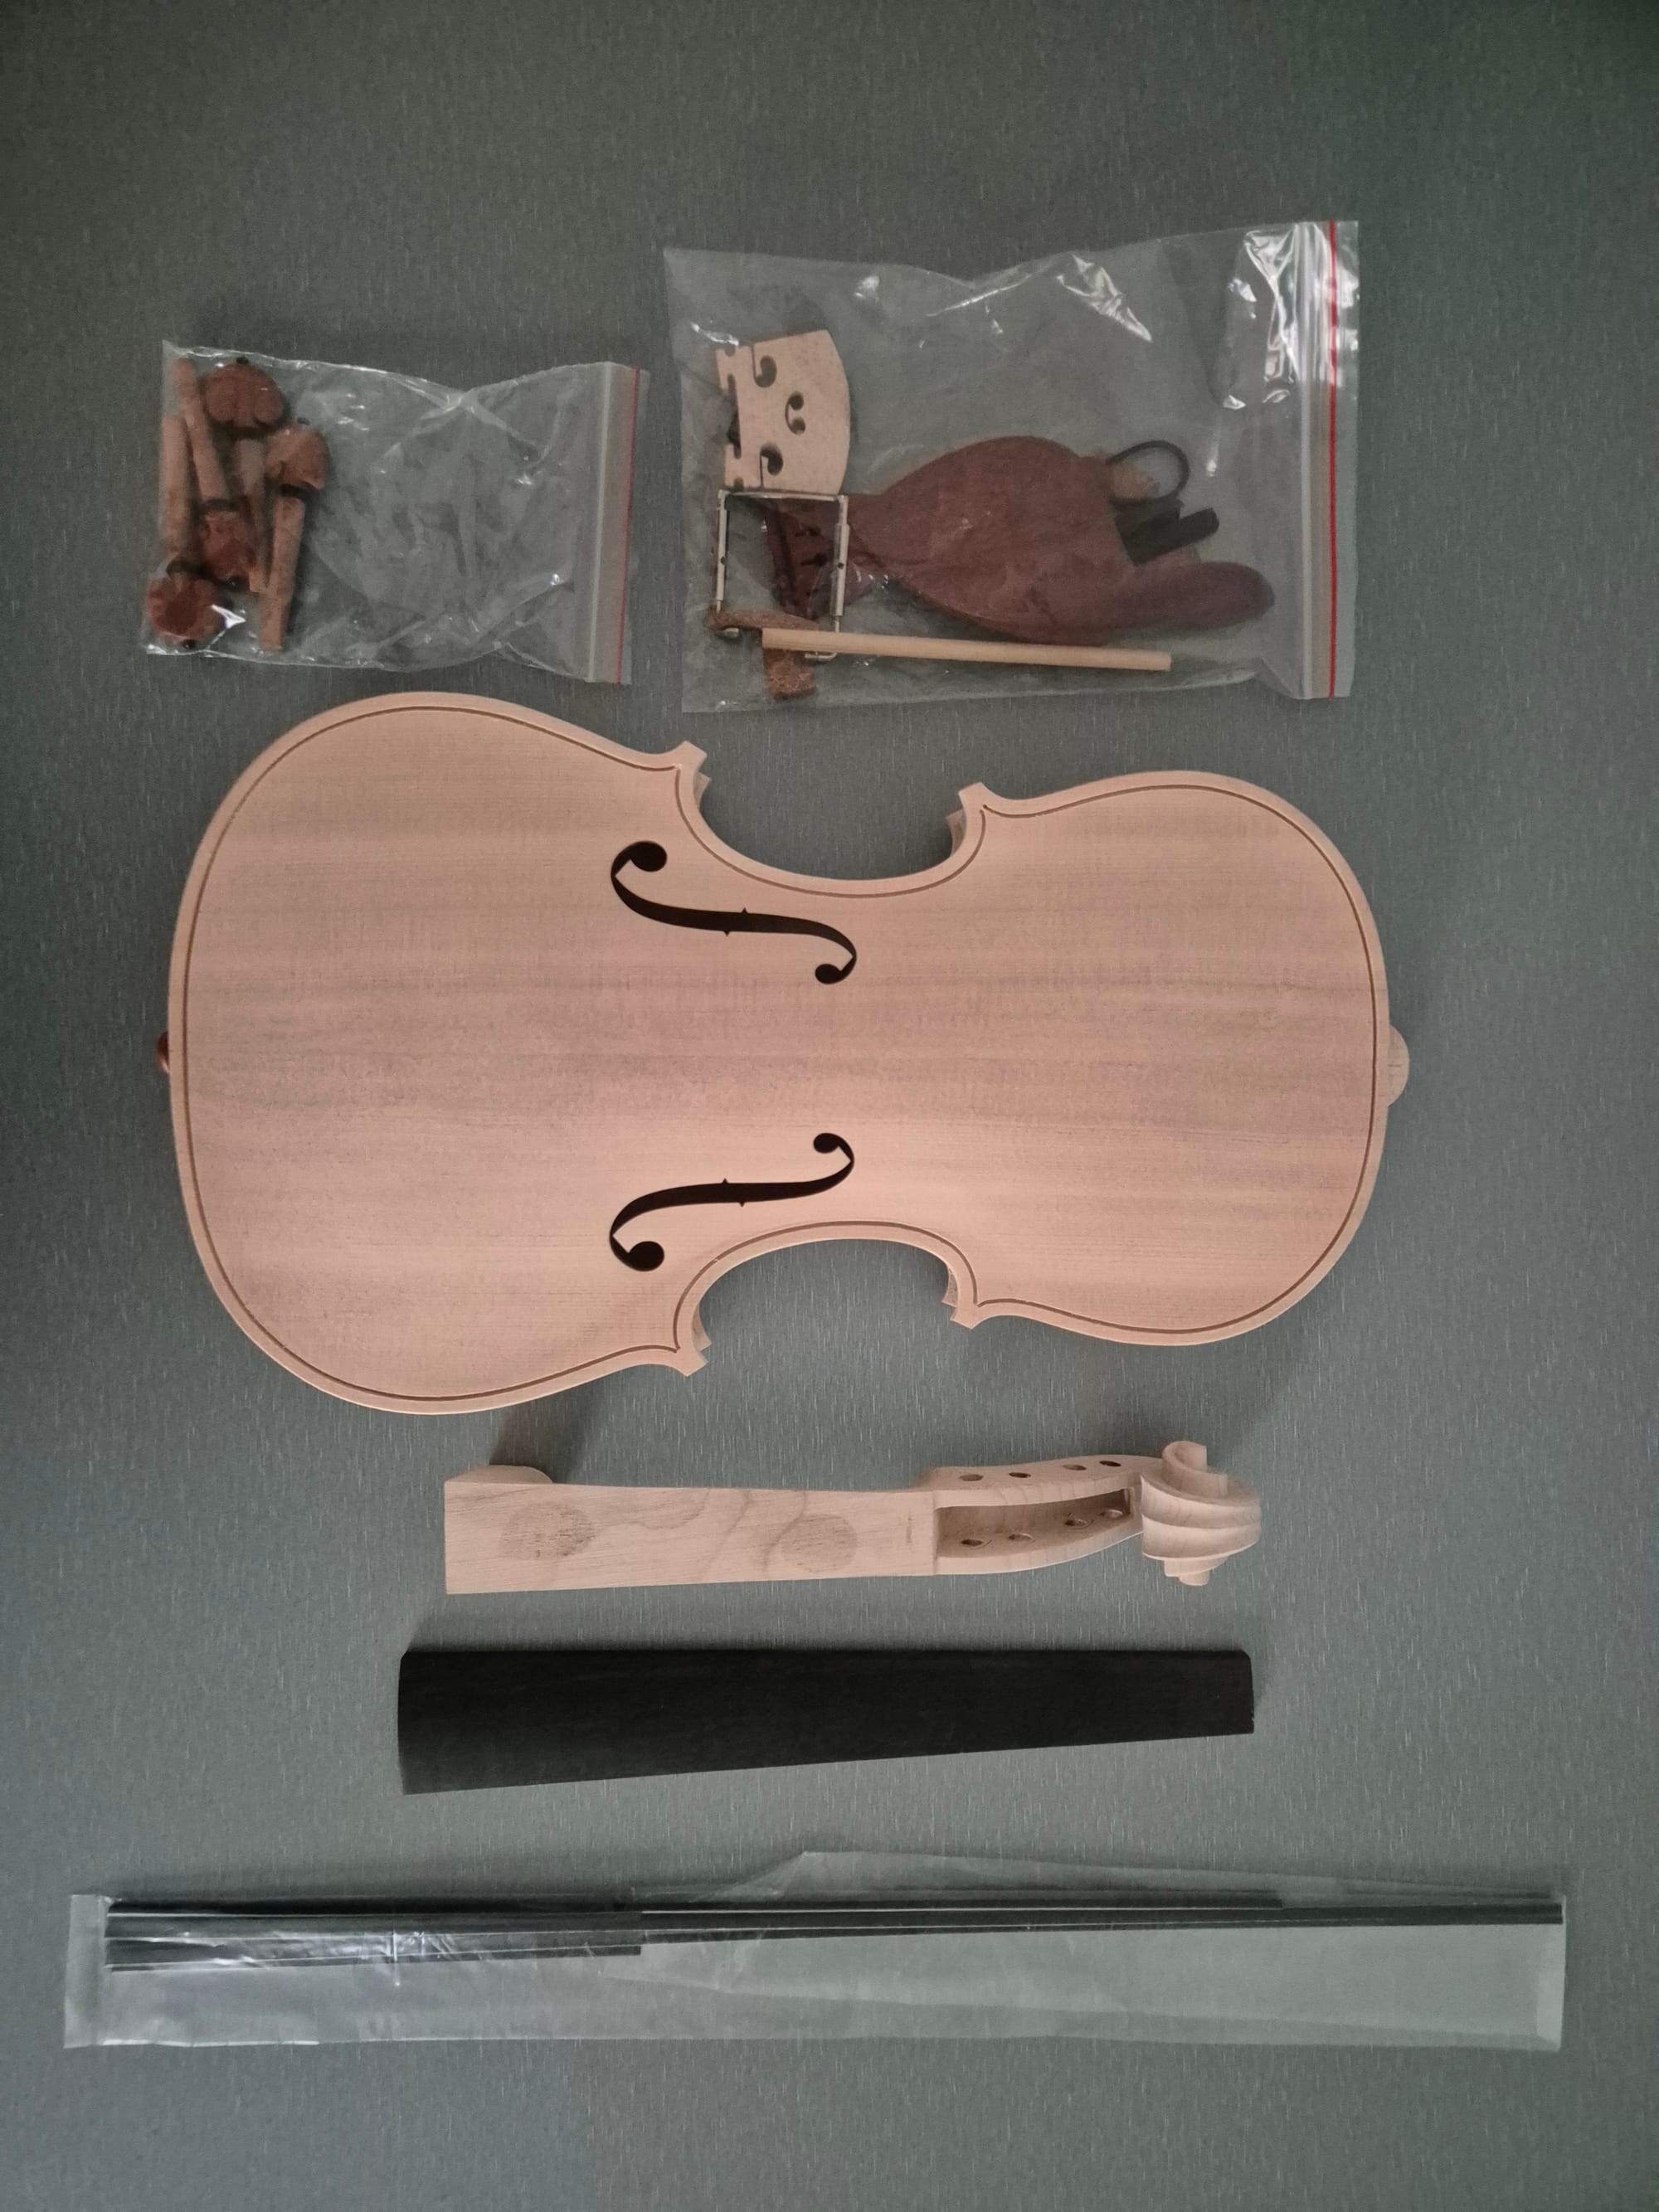
As you can see, most of the hard work has been done already. The kit contains a glued violin body, a scroll+neck ensemble, a fingerboard (already smooth and nicely shaped), some purfling, and all the fittings: pegs, bridges, a stick to carve the soundpost, a blank bridge, etc.
The kit is designed so that there is still a significant amount of work to do (especially for a completely novice woodworker like me), but no power tool is needed. Everything should be doable by hand, and with a bit of creativity.
It comes with an instructions booklet that honestly doesn't give much details, but luckily there are troves of information available online.
To be honest, I have no expectations of getting something playable at the end. Building, or even finishing a violin requires a lot of skill, and luthier have training experience that I obviously have not. I take this as a fun project that will learn me a few things about the instrument I like, nothing more.
Cutting the corners
Useful resources
- Vojtech BlahoutThe violin making manual - Marking and cutting the purfling …
- Davide Sora - Filettatura parte prima
- Davide Sora - Violin purfling from start to finish
- Davide Sora - How to trace the purfling tip detection
- The art of violin making, p. 118
Davide Sora is a master luthier who filmed a lot of the tricky steps involved in violin building!
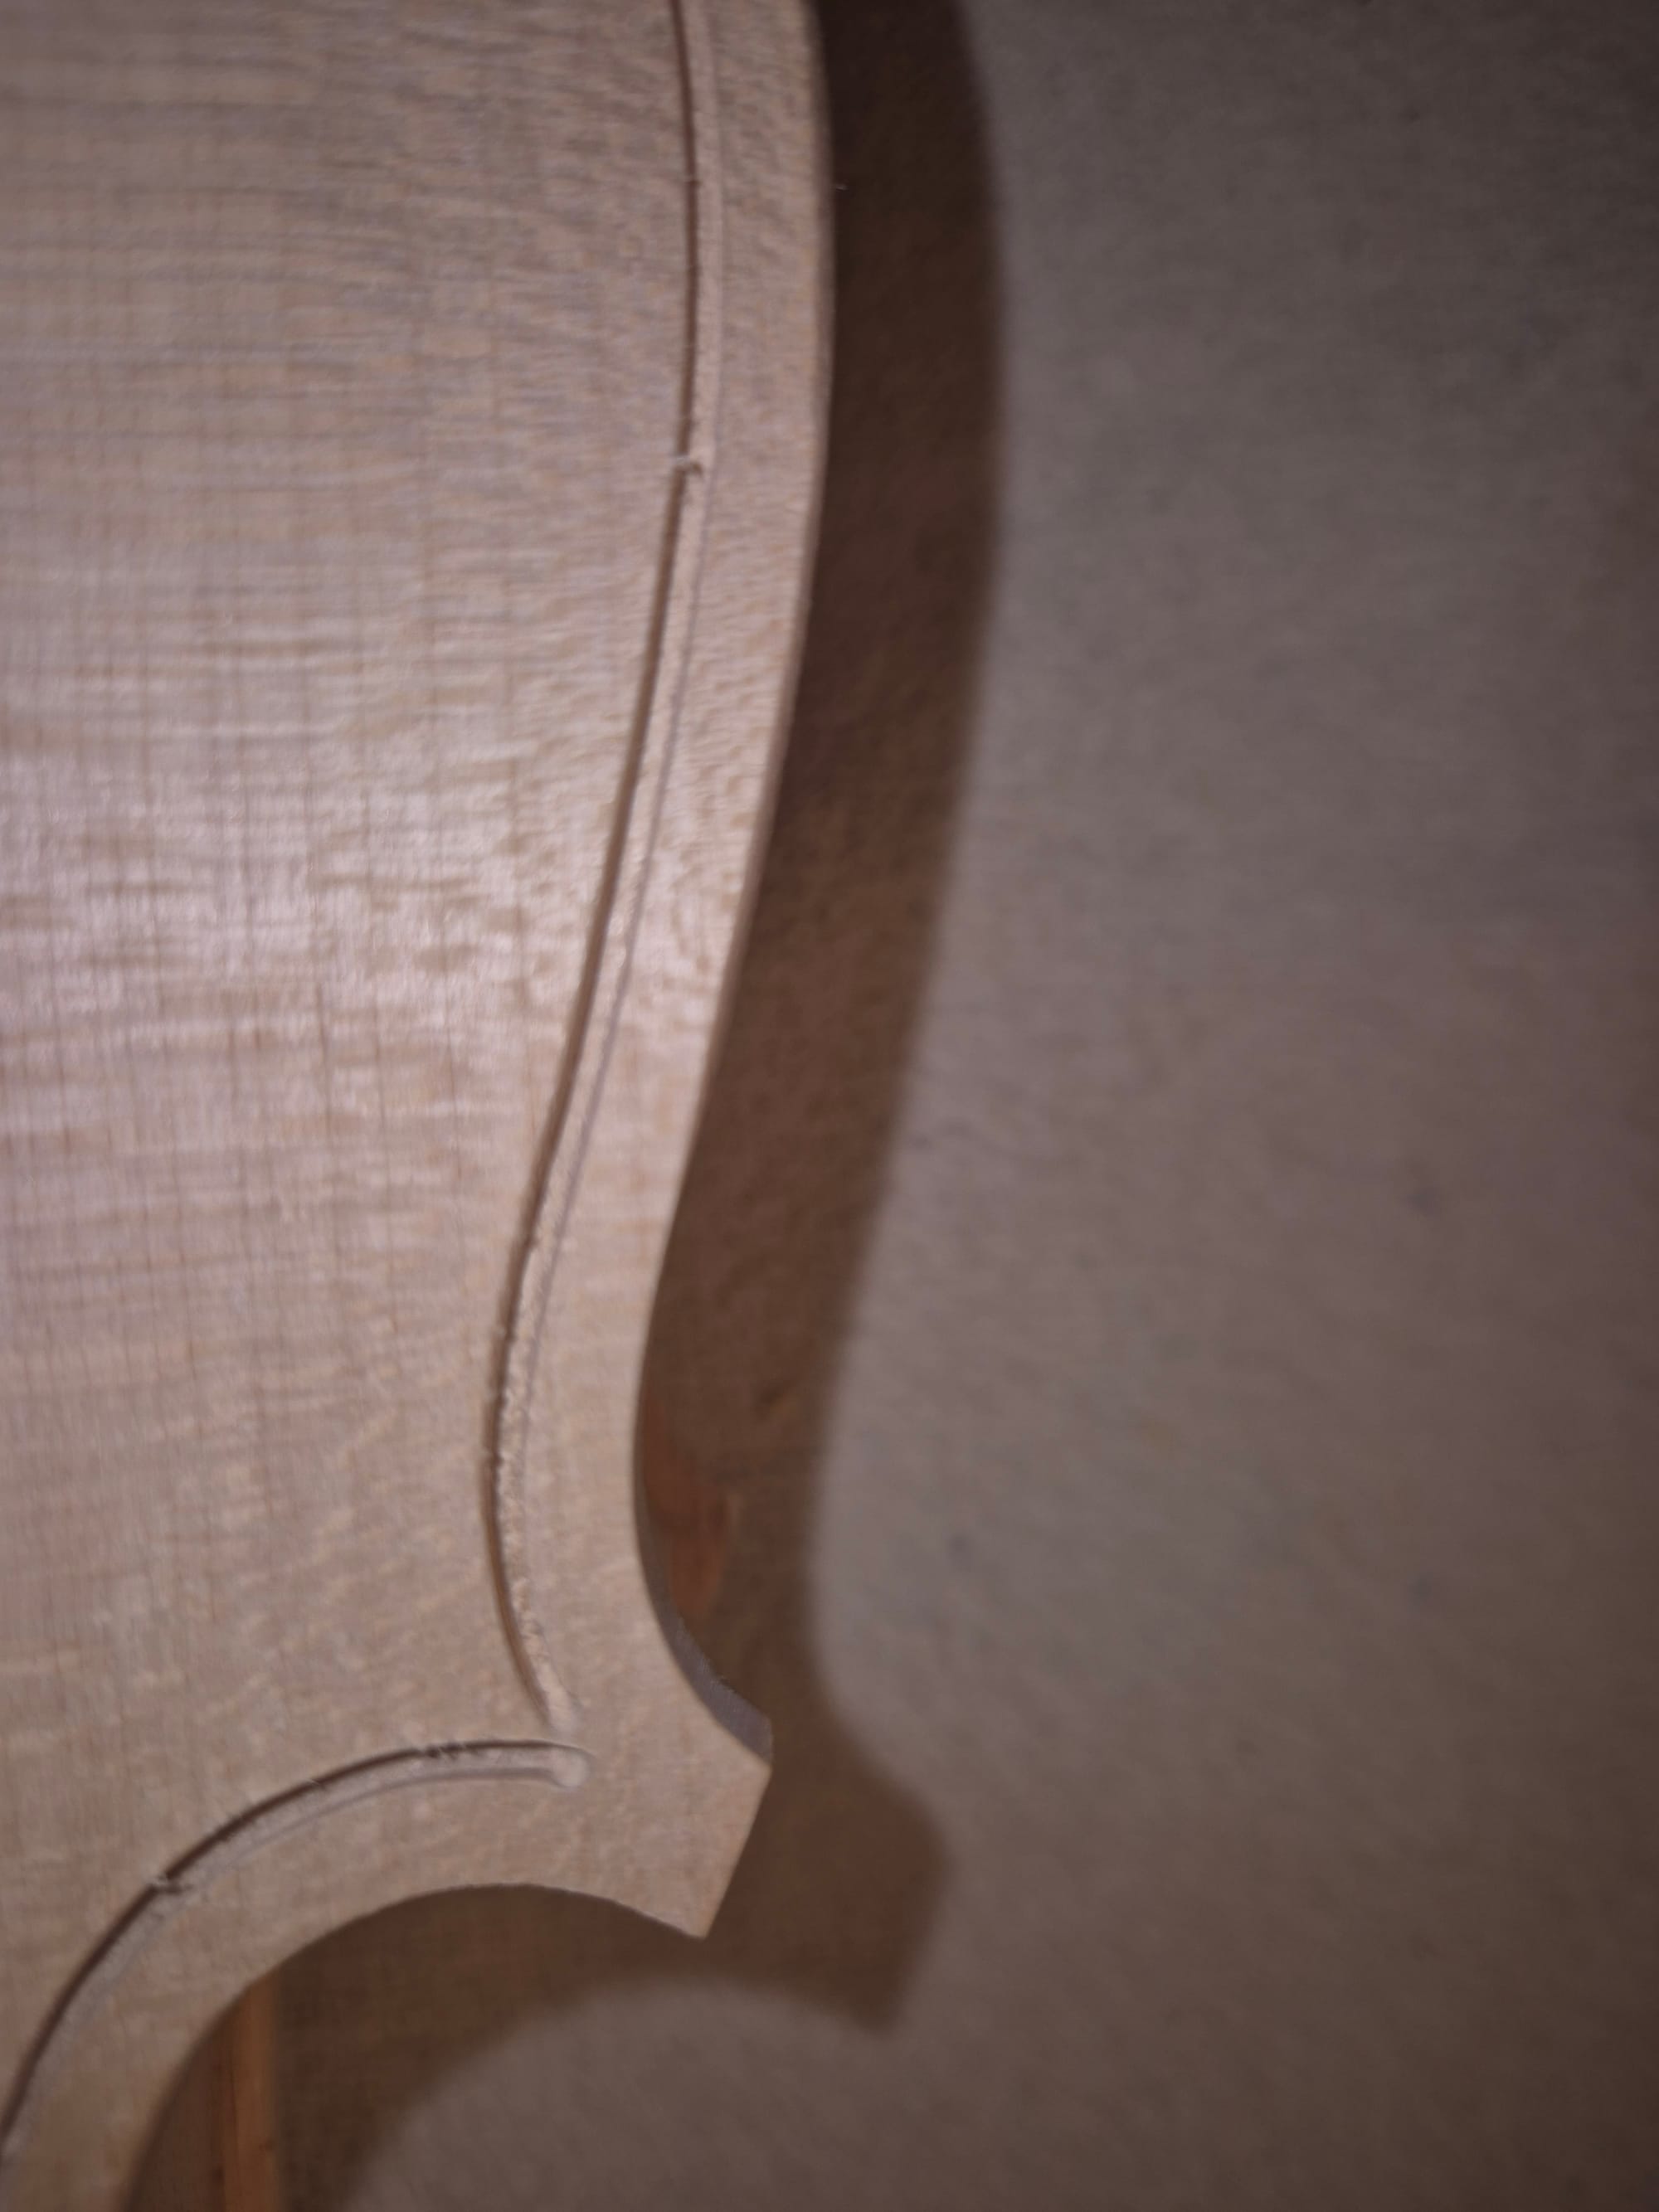
The first step is to finish cutting the purfling channels, and particularly the corners. As you can see on the photo, they aren't completely carved!
I started with the back, thinking any mistake would be less visible and the front would be a bit easier with some experience.
The first issue I encountered was almost immediately obvious: where the (presumably) power drilling bit was lifted, the channel gets a bit rounded and wider. There isn't much I can do to fix this as wood had been removed, but I did my best to find a corner curve than doesn't make this too obvious.
Shaping a corner is no easy feat. The exterior wall of the purfling channel is usually placed around four millimeters from the edge, and the far tip of the corner should use the same distance. The corner curve must flow nicely from both sides, but be slightly curved toward the c-bout. The website Making the violin has an excellent page about this with lots of useful diagrams. It took me lots of drafts on a paper to get an idea of what it should looks like, but once ready I started scribbling on the wood with a pencil.
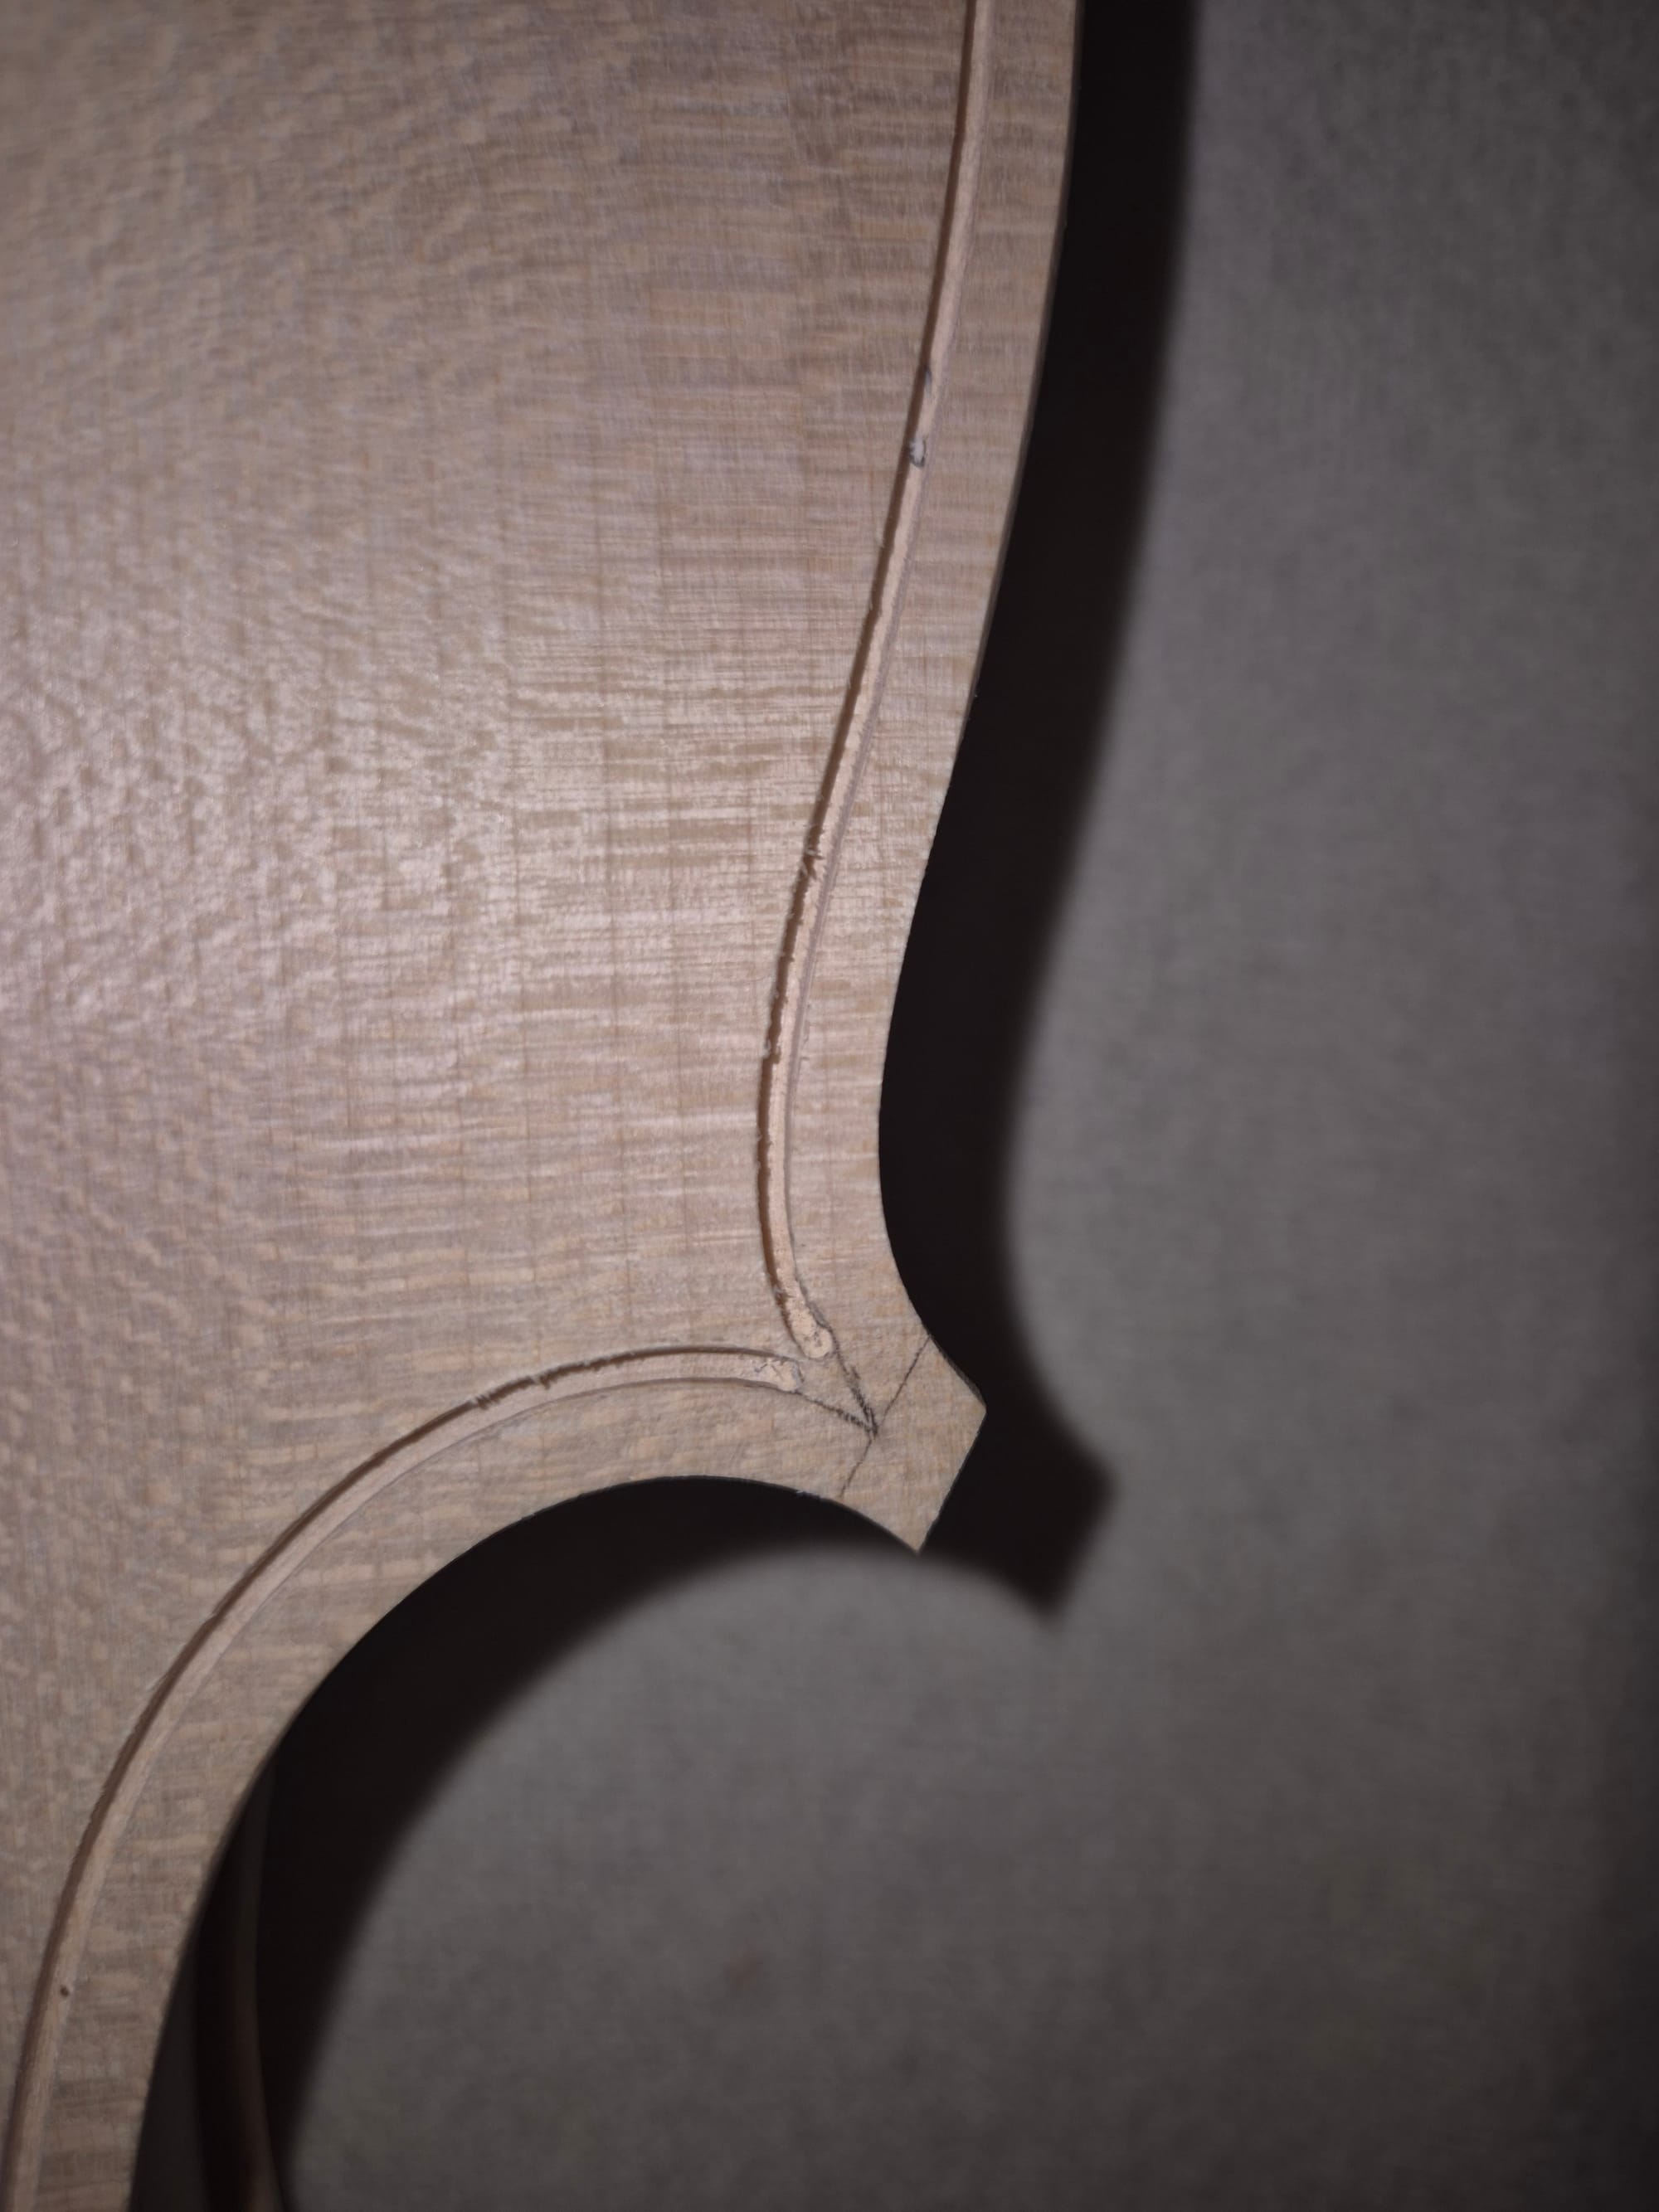
Once I got a shape I was happy with (which took a good thirty minutes, keep in mind this is all new to me), I started carving with a special purfling bit I bought on the internet. I quickly realized that bit was slightly too wide (my understanding is that luthiers usually customize those tools for their needs), but I had no other option.
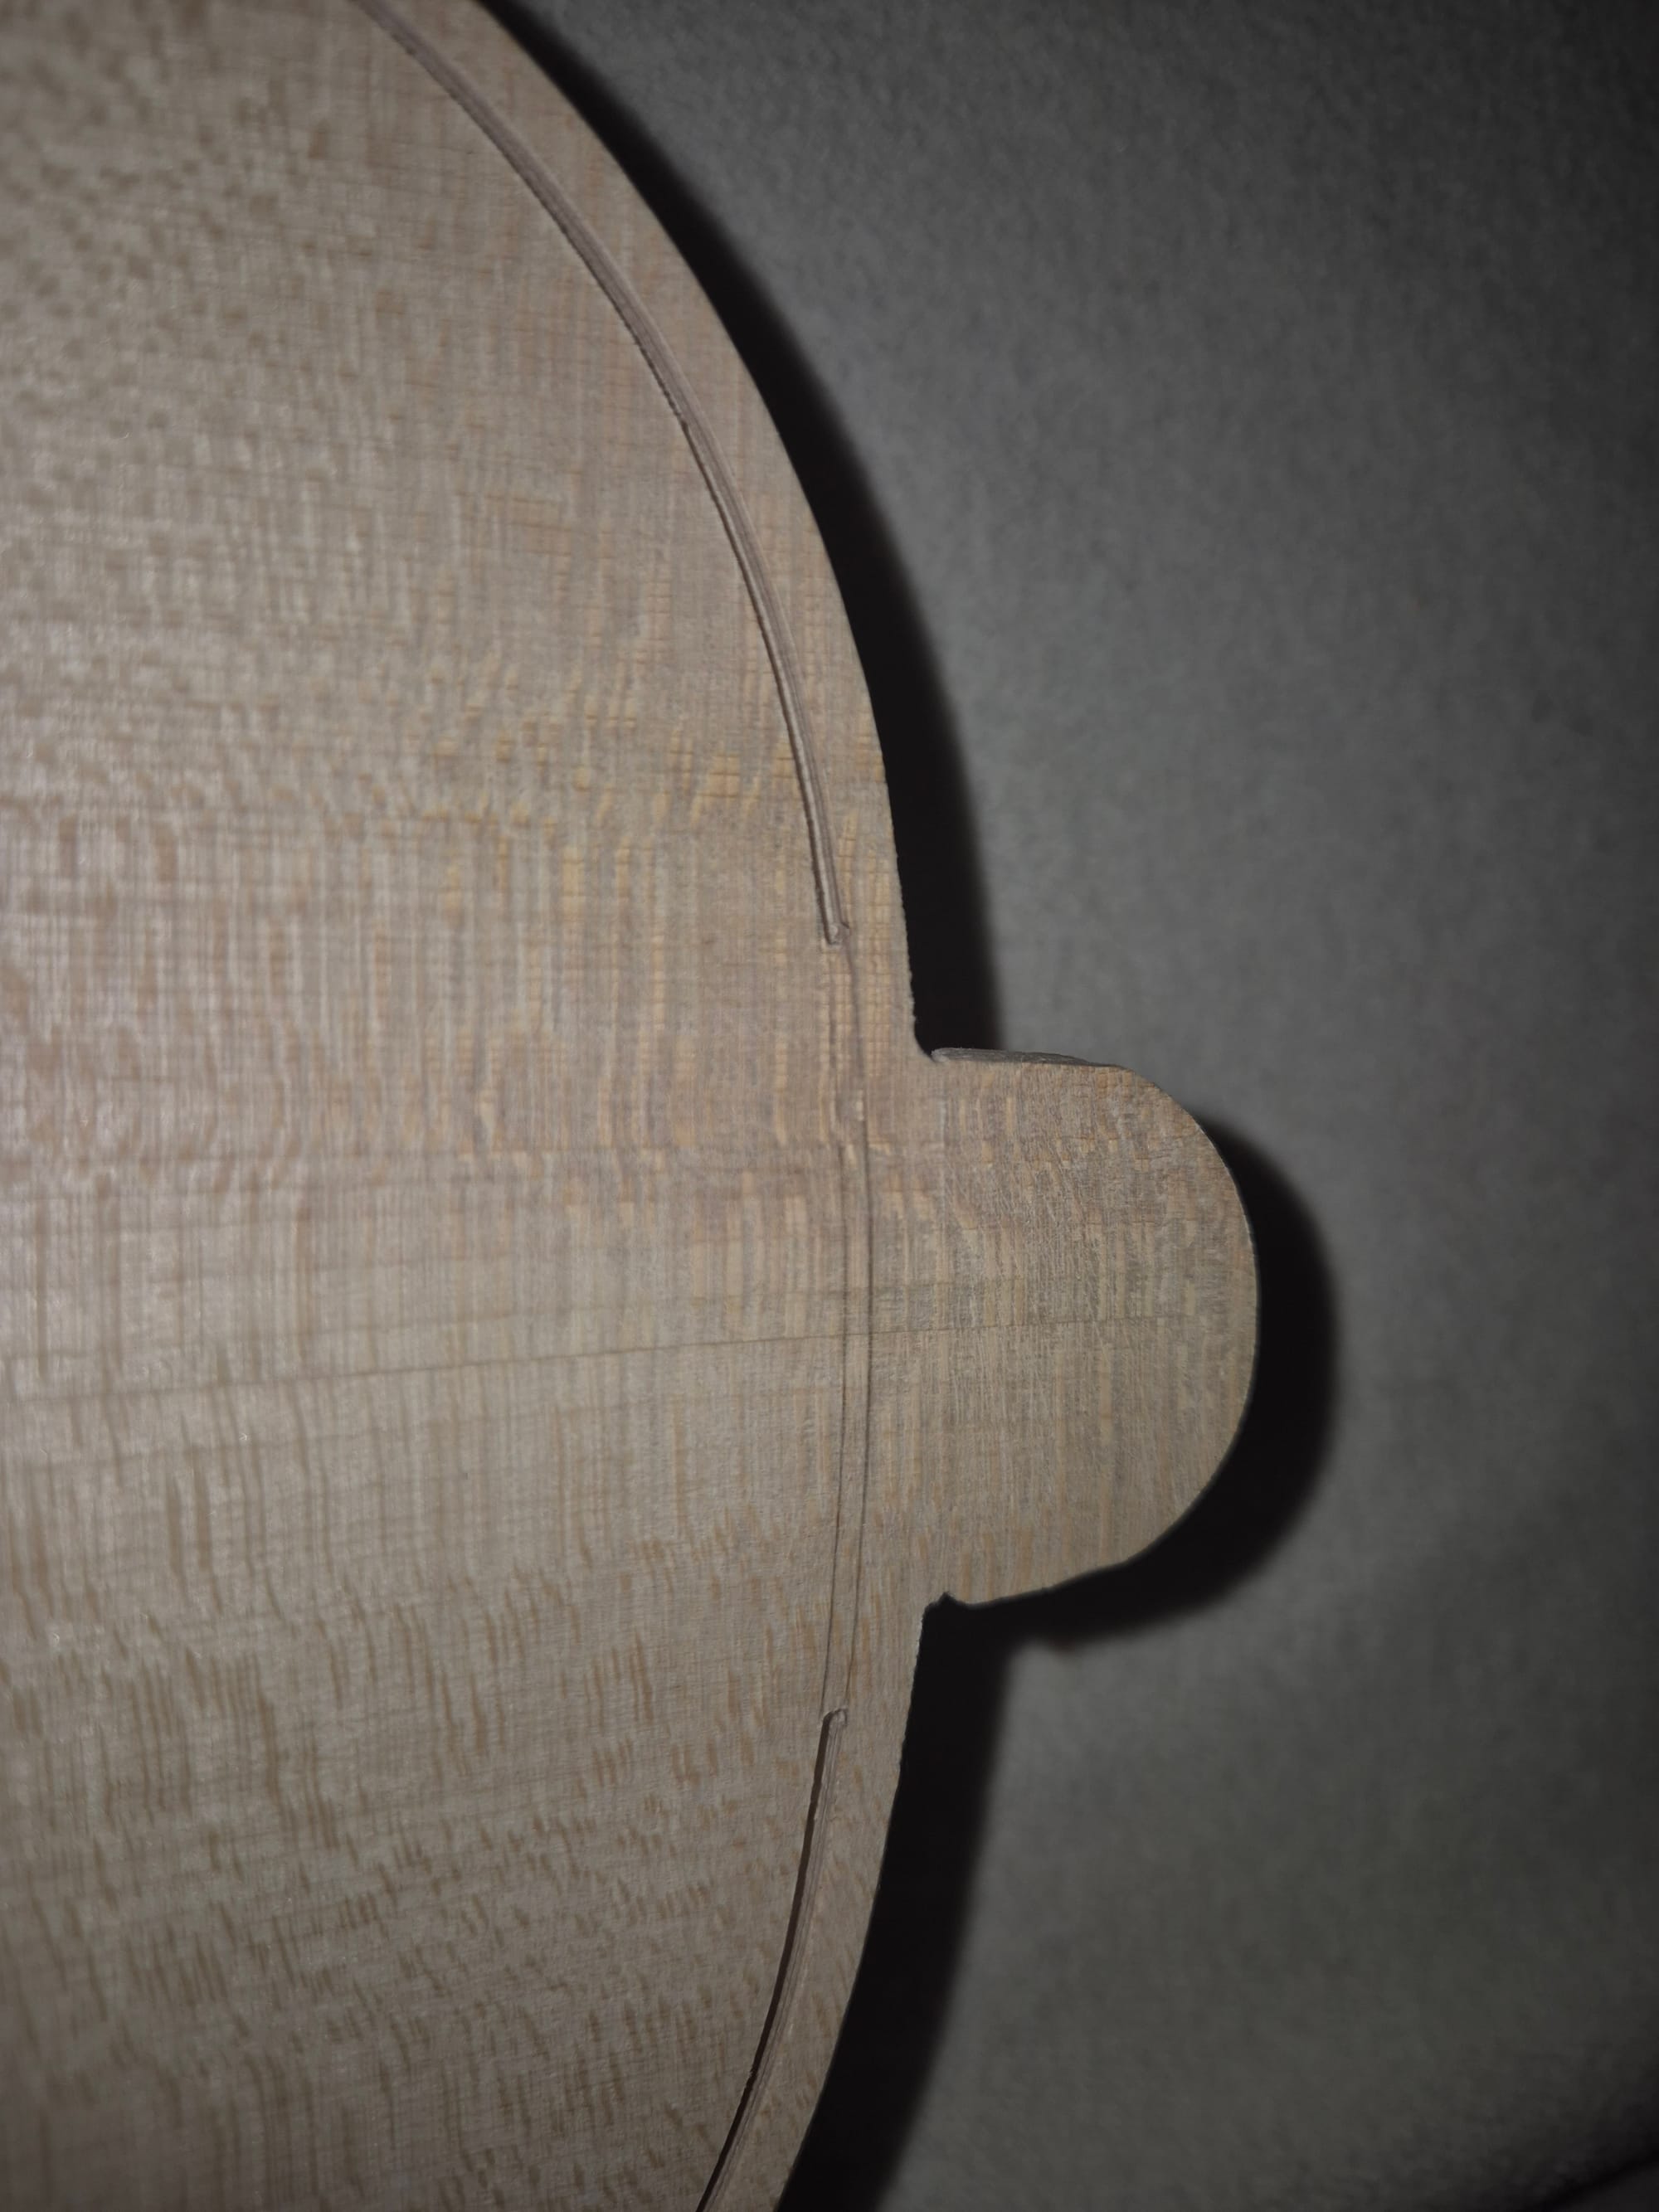
The first side of the corner went quite well, but as soon as I started carving the other side, the inner tip broke. Even with gentle movements, it is very hard to keep the inner tip intact, and I broke 3 out of 4 on the back. For the last one I took advice from the internet and put a bit of liquid hide glue on the wood to harden it. I also made sure to always carve toward the body, as this applies the force towards the side of the corner and not towards the tip.
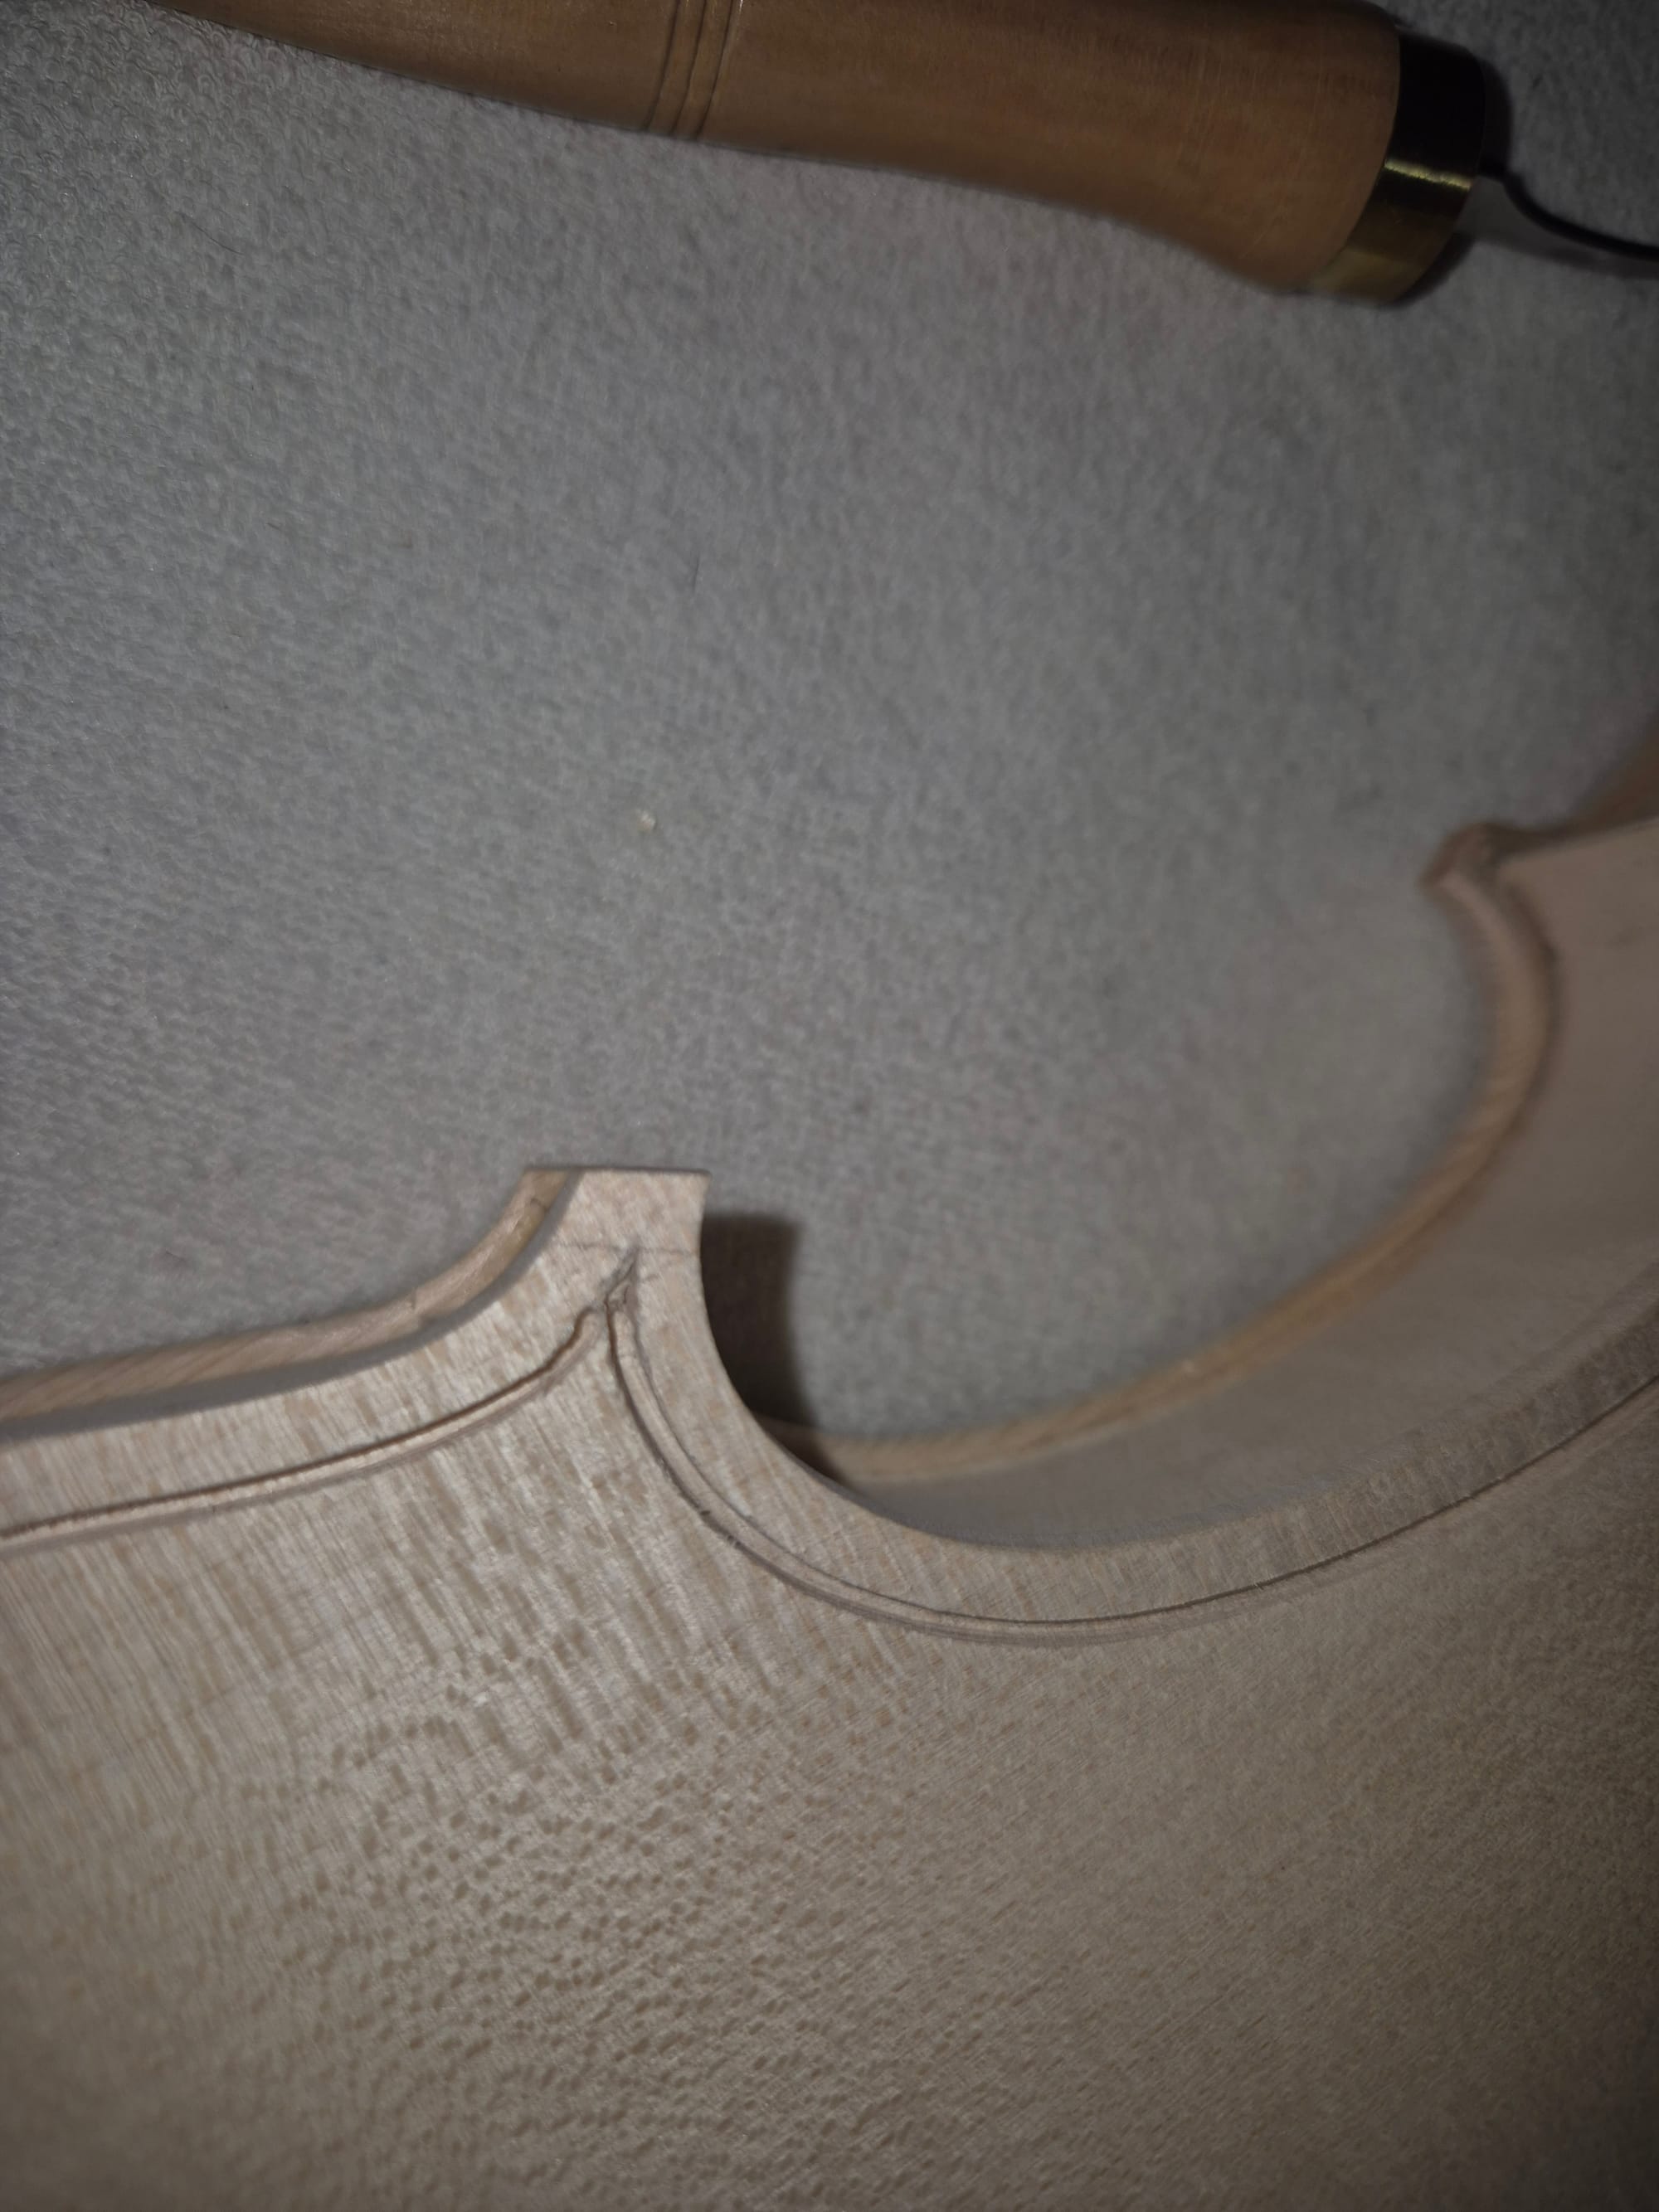
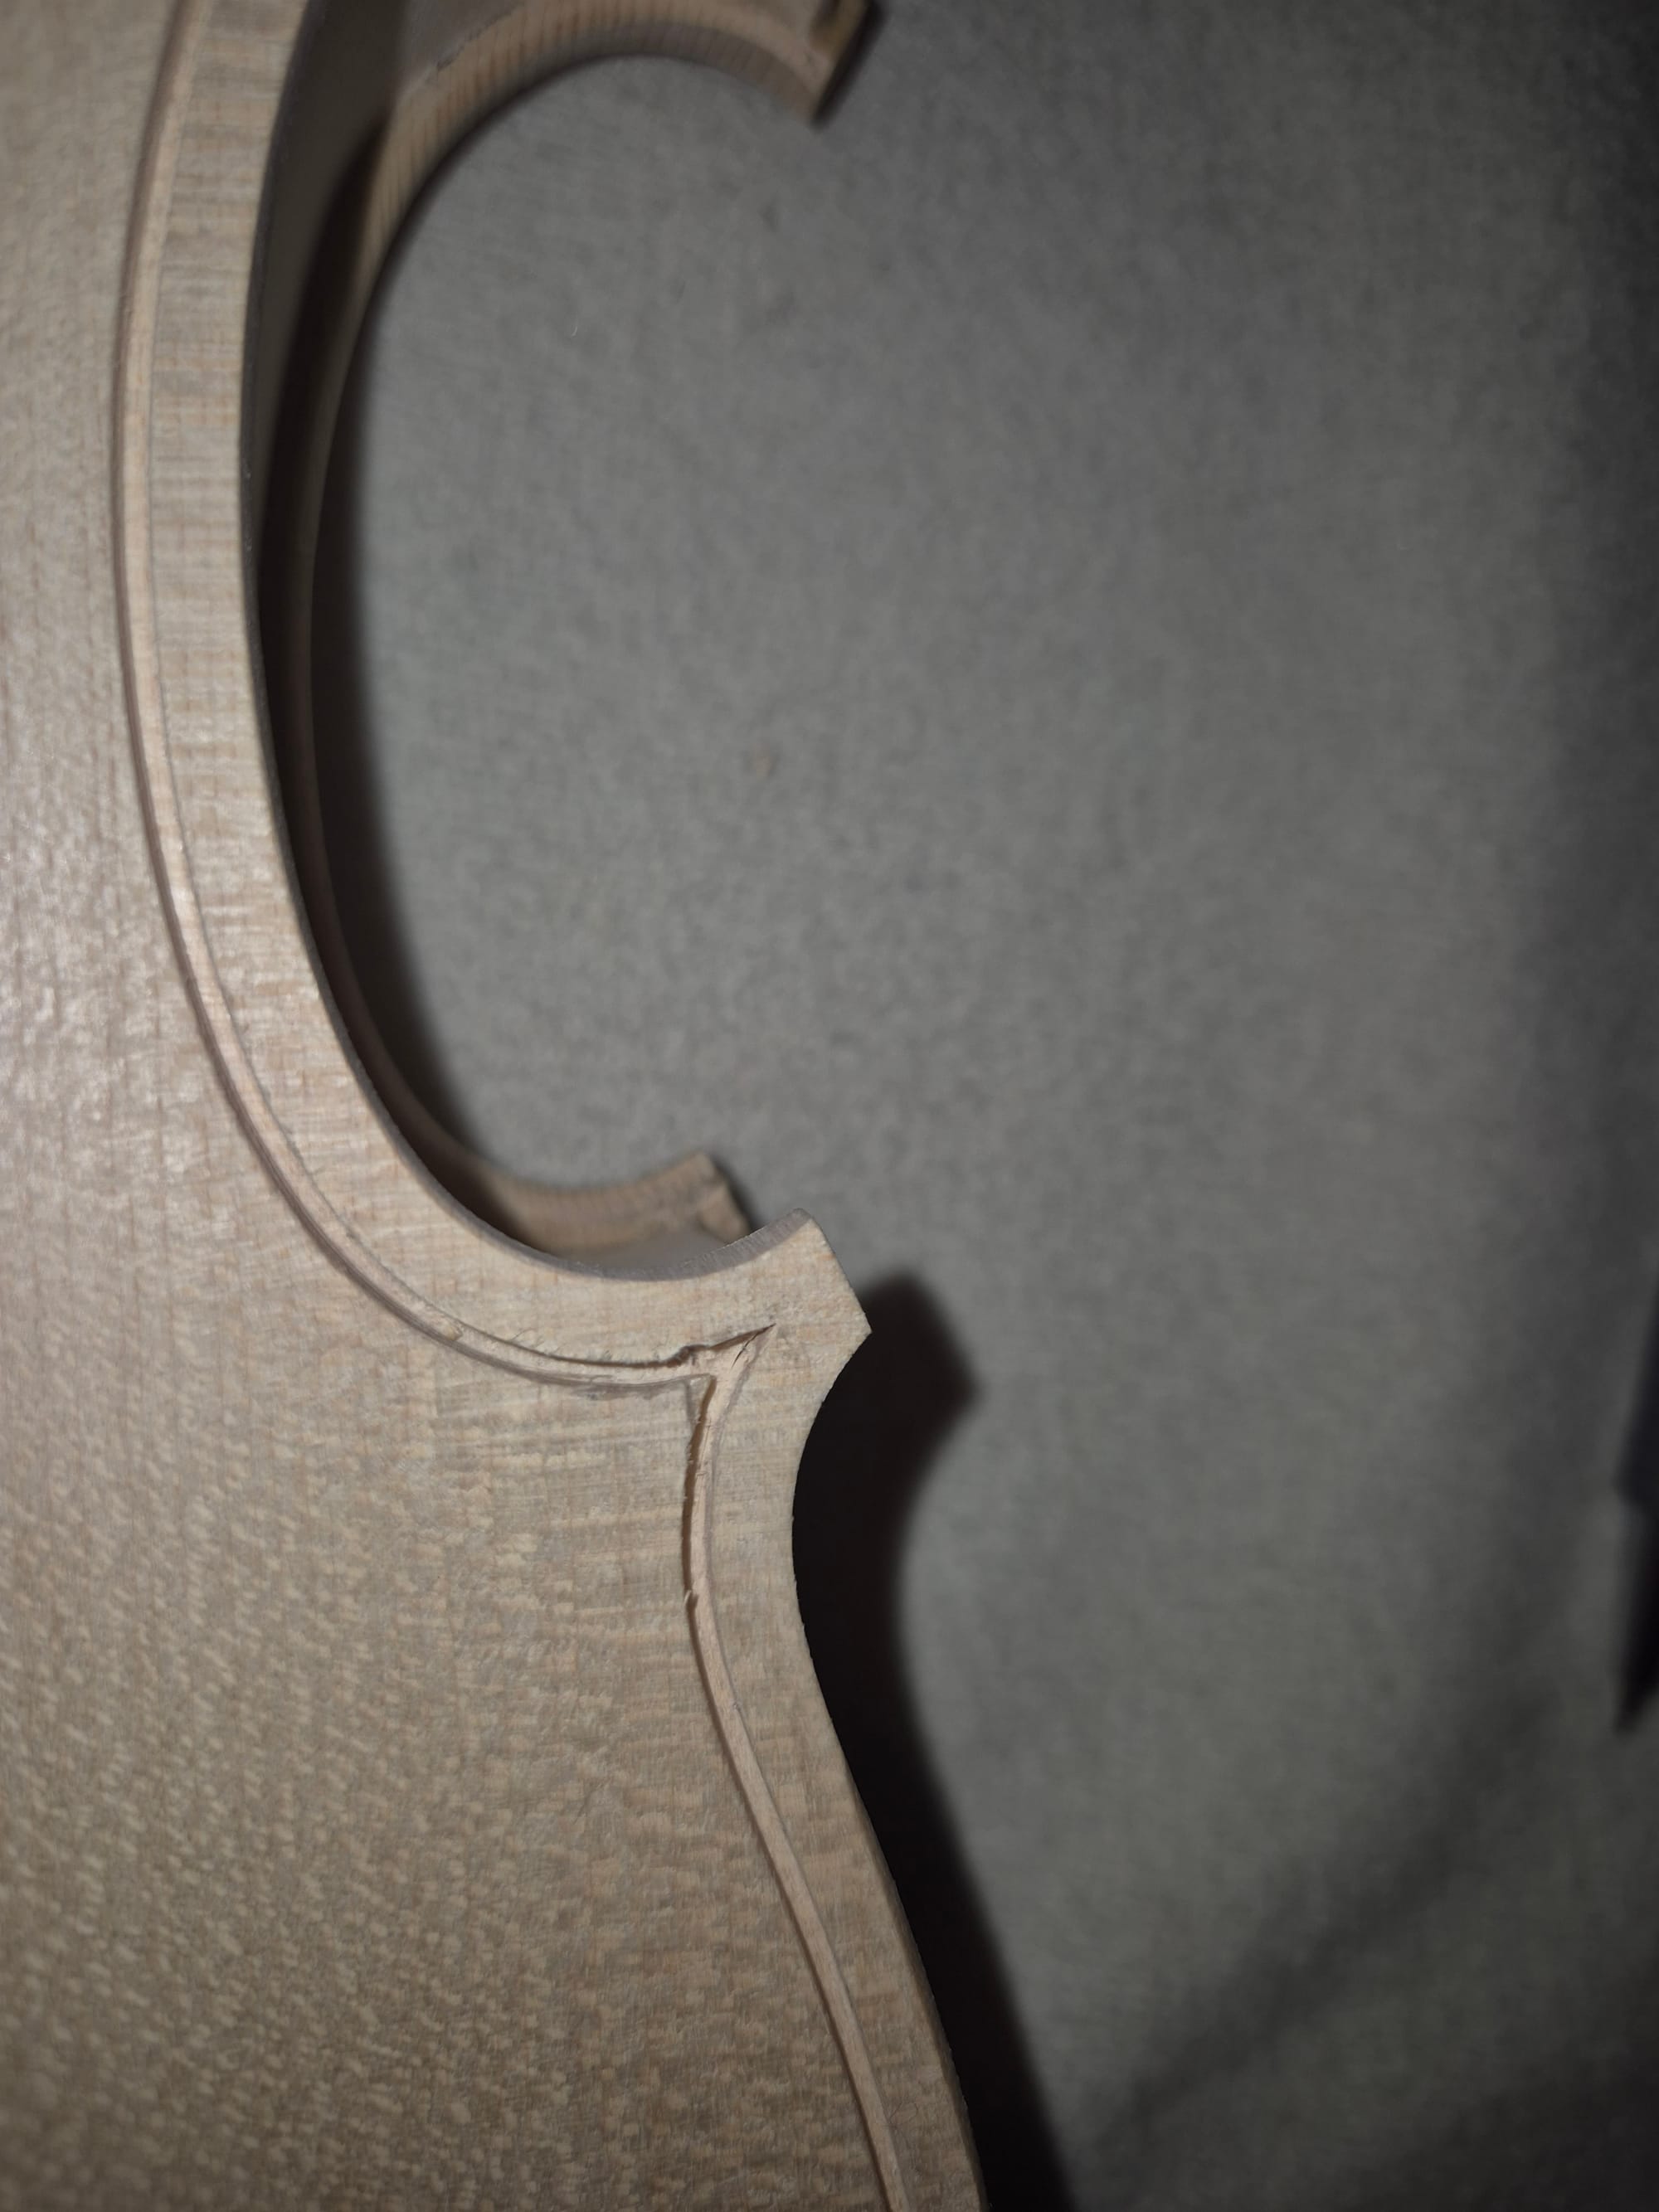
Applying all of those tips, I managed to keep the last inner tip intact. Sadly, the pre-drilled channel goes really close to the edge, and I found it really hard to steer the curve toward the c-bout (on the right on the photo above).
I comfort myself in the fact this is mostly cosmetic, and shouldn't be too visible once finished. I also managed to salvage some of the broken tips, so I might be able to glue them back later.
I have been told that carving the back is signifcantly easier than carving the front (due to different woods being used), so I'm not looking forward to doing the front.
Finishing the back channel
The channel wasn't carved near the neck, because, according to the kit seller, some people want to do something more involved here like drawing a flower, a name, etc. To me, assembling the whole thing was enough of a challenge and I decided to simply bridge the gap. The instruction booklet advised to trace a template on some stiff cardboard, so I did exactly that with a compass.
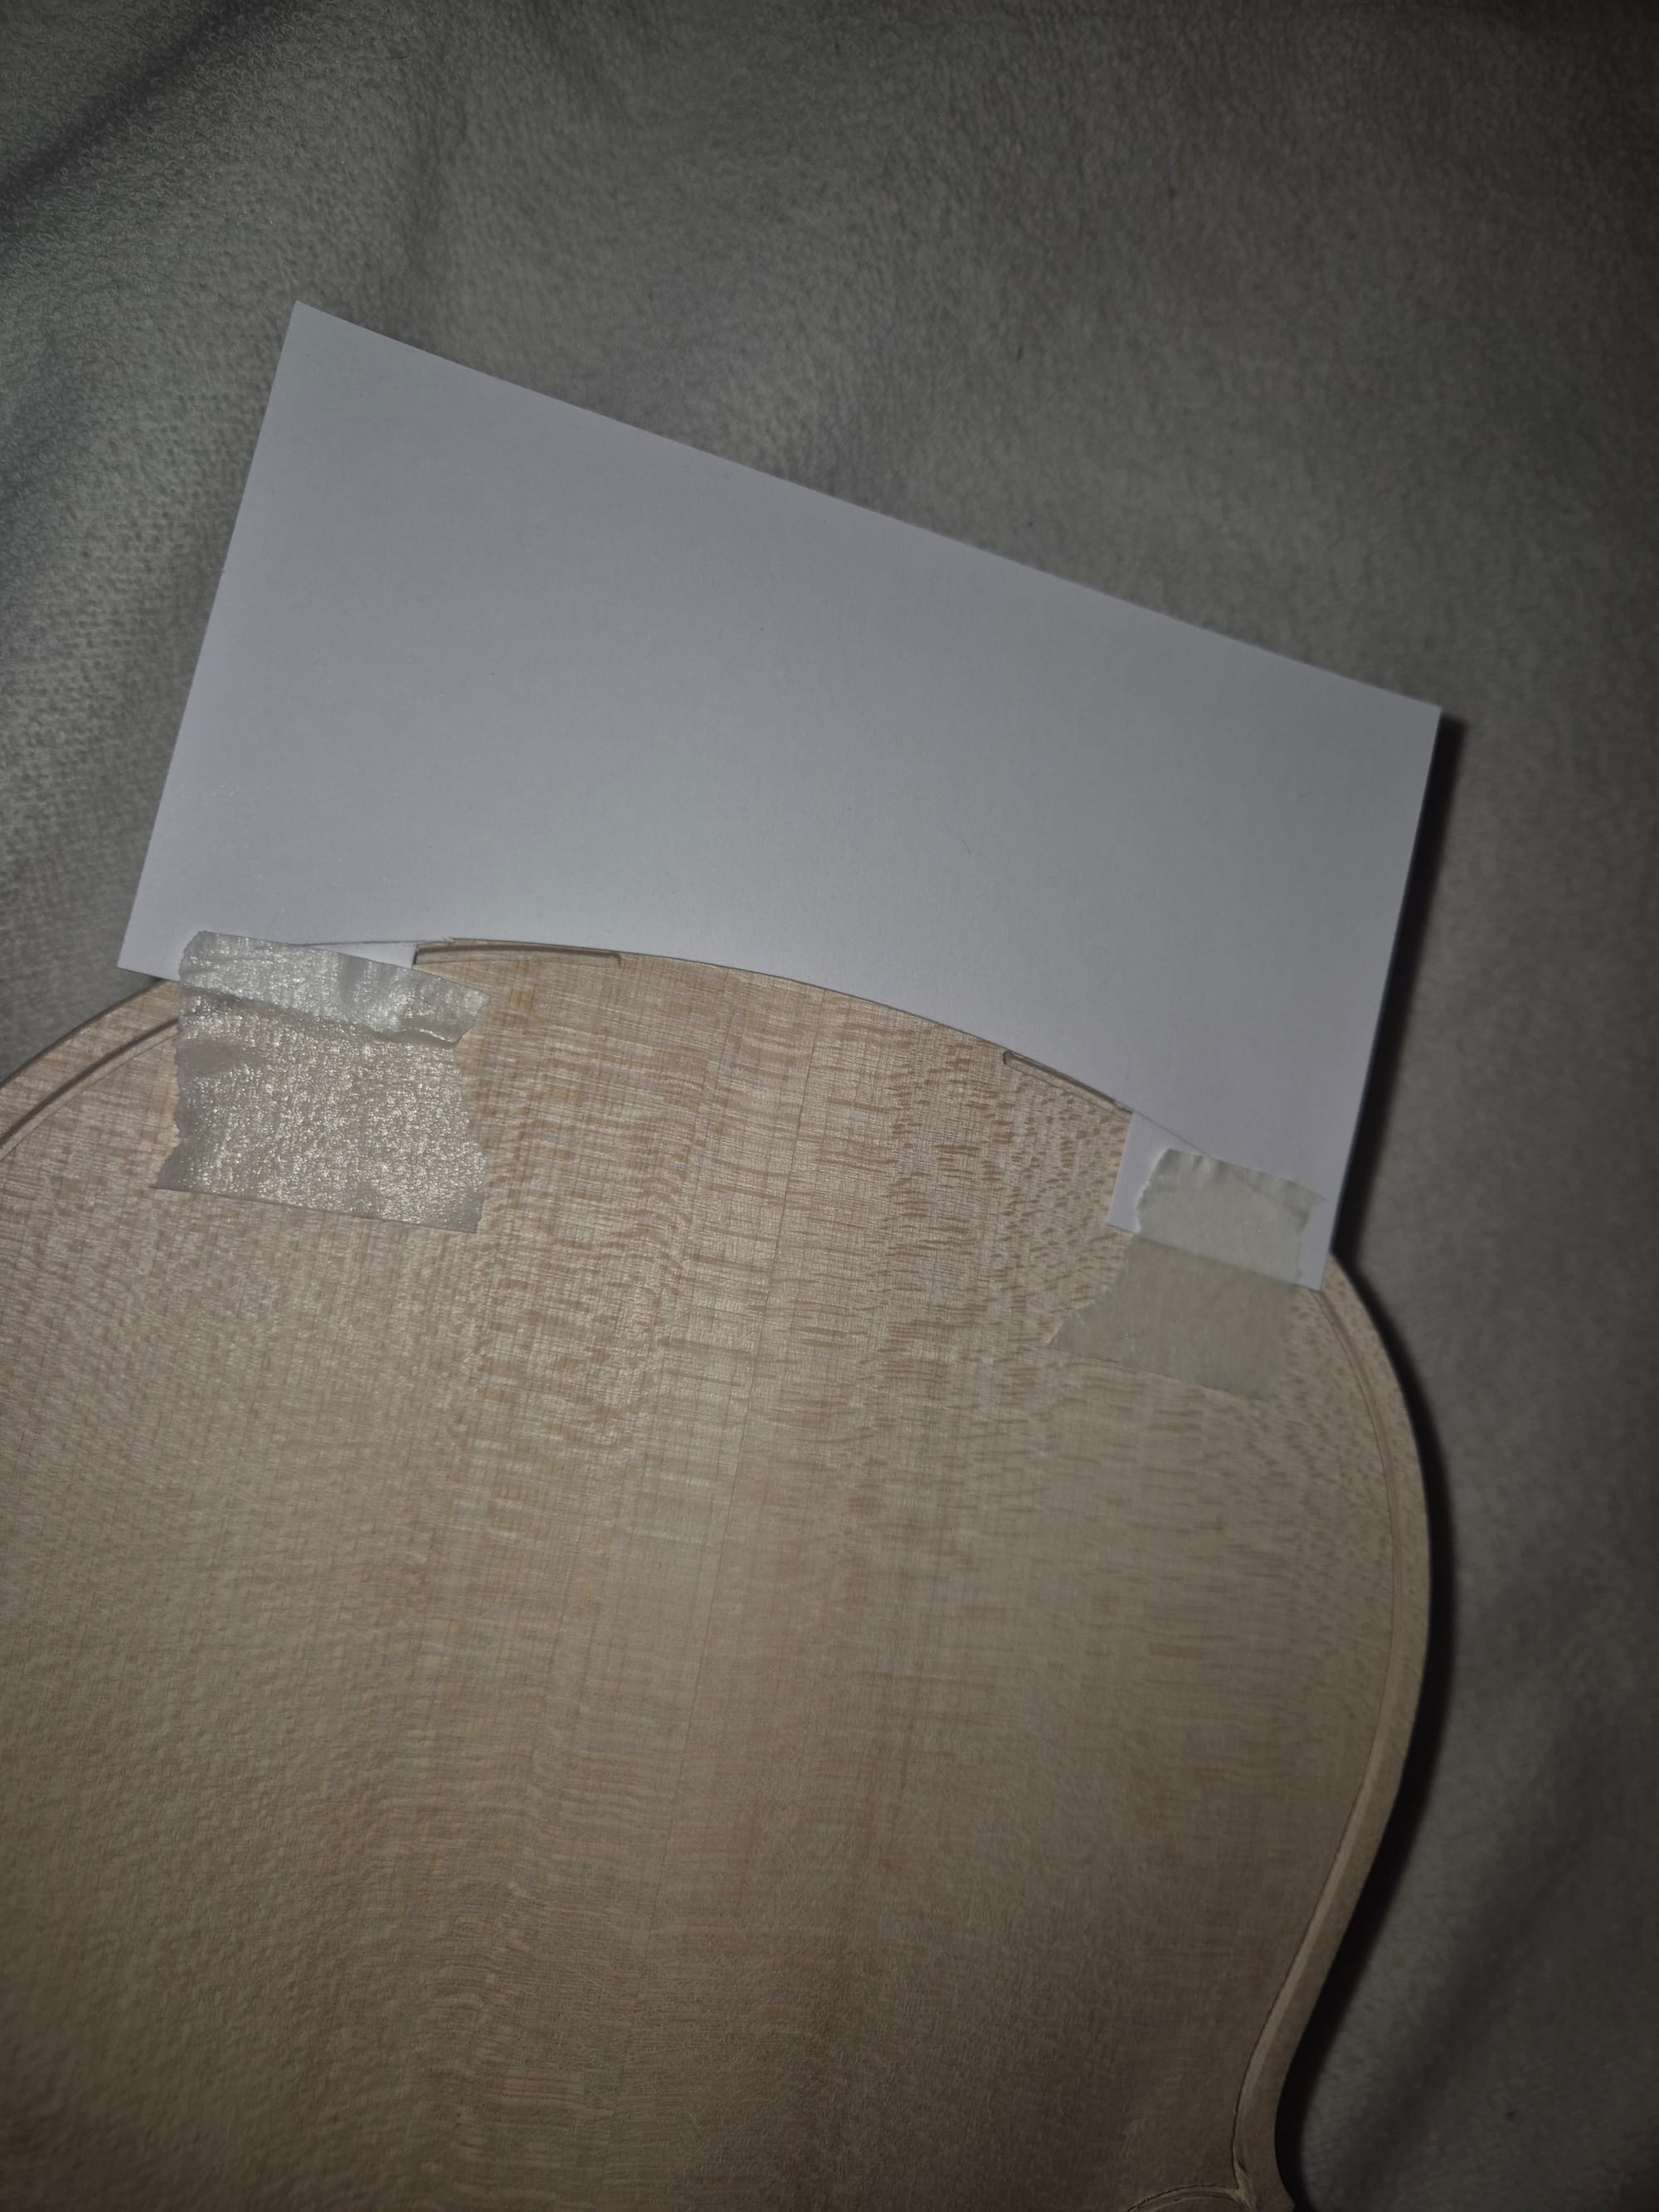
I add to play with the shape a bit because the shape isn't exactly a segment of a circle, but I got something I was happy with.
I then carved that bit just like I did the corners. It was much harder because there was a lot more work to do, and to prevent the wood from chipping I had to cut along the pencil lines with a sharp x-acto knife, and then removed the wood bit by bit with my purfling tool.
The next step will be to cut the purfling mitres, bend them to shape, and glue them in place.